News
How to Conduct Accurate Inspection for Auto Parts?
Understand the Core Standards for Auto Part Inspection
In order to begin any inspection work, you must understand first the inspection core standards that are relevant to the auto part. These are not arbitrary; they are often derived from authorities in the field, OEM needs, or even international standards like ISO/TS 16949. Consider the standard values for the tolerances on the thickness of a brake pad, for the tensile strength on a bolt, or the positional accuracy of a sensor in regard to the acceptance criteria. Standards must not be overlooked or none of the possible work inspection could be accurate. To build a strong foundation for precise work, all inspection steps must be matched with the standards relevant to the type of part.

Get the Proper Equipment and Set-Up for Inspections
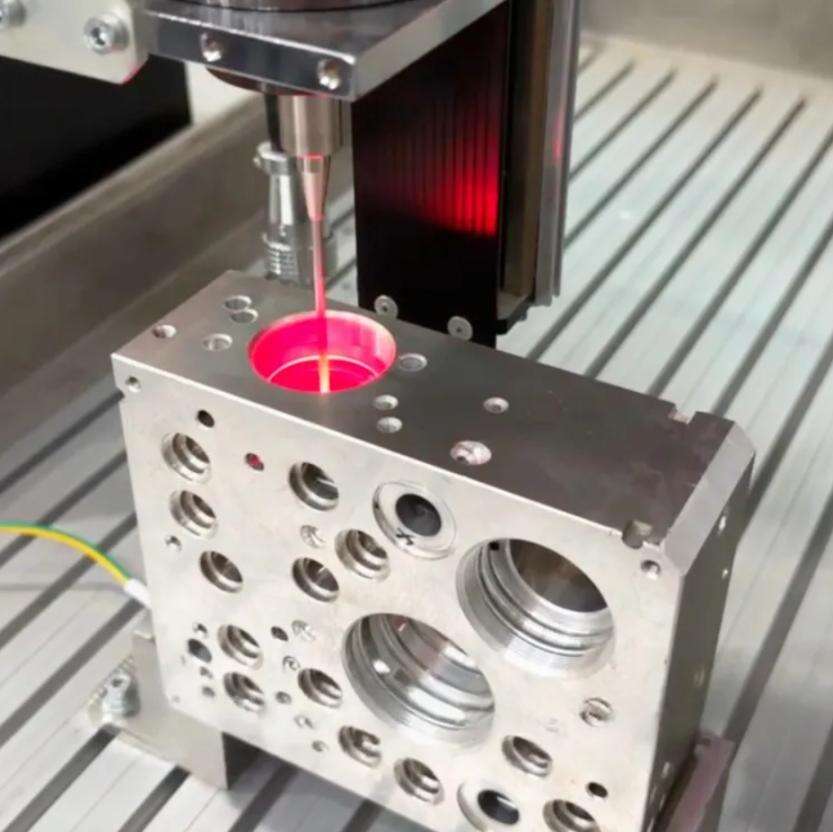
Knowing the standards is just one part of the equation: Having the right tools and the right setting is equally as important. When it comes to different inspection tools for different auto parts, for example, calipers and micrometers are best for measuring small dimensions, like the bearing inner diameters. Coordinate measuring machines, or CMMs, are best for measuring complex three-dimensional shapes, like the heads of an engine. To check the tightness of fasteners, a torque wrench is essential. Then for electronically driven parts, like ignition coils, specialized testers are important. Environment also plays an important role. Measured parts like metal components can expand under heat and cause a workshop to throw off the accuracy of size measurements. Dust and temperature disarray can also throw off the measurements. To ensure accurate measurements, the inspection environment should be clean, temperature controlled, and free of excess vibrations.
Follow a Systematic Inspection Process
Having a Systematic Inspection Process in place helps to ensure that nothing gets missed and that everything is done in the same way every time. First. start with a visual inspection and look for the most obvious defects. Look for things like cracks on the gear teeth, rust on metal brackets, or discrepancies in the coatings on plastic items. After that, perform the dimensional checks. This is where you use the sized tools you prepared to determine whether all the important sizes conform to the specification for that piece. Then, perform the functional tests. For example, to test a fuel injector, determine whether the fuel is sprayed evenly and at the appropriate pressure and for a windshield wiper motor, check the speed and the noise it produces. After all of that, record everything. For every part you inspected, write down the the inspection tool you used, the measurement results, and whether or not the part was a pass or fail. This recordkeeping helps track the problem and helps to prove the fact if any quality issues come up later.
Handle Frequent Problems Concerning Auto Part Inspection
Even with proper standards and tools, inspectors will undeniably be challenged, which, in turn, will affect accuracy. For instance, human errors like rushing a visual check and misreading a micrometer. To fix these, you can hold frequent tool and standard interpretation training and encourage double checking critical measurements. Hidden defects, like internal crankshaft cracks, will be a challenge to inspect. For these, you will need ultrasonic testing or other NDT methods. Batch variation can also confuse inspectors. For example, in a batch, one part may pass and the rest will not. To fix this, ensure you do not sample too few parts, and use a statistically sound sampling plan which will also represent the overall quality of the batch.
Verifying and validating results is the final step to ensure accuracy. After completing an inspection, recheck a small sample of parts one more time—by having another inspector do it, or with a different tool for the same measurement. This catches any errors you could have made during the first inspection. However, validation goes a step further. It compares inspection results with historical data or supplier records. For instance, if a batch of gaskets has a much higher than normal failure rate, it is worth investigating whether the supplier changed materials, or if there is a gap in your inspection process. By verifying and validating, you can have complete confidence in the reliability of your inspection results and ensure that only compliant auto parts continue within the supply chain.


